How to Customize List Settings in 4Degrees
4Degrees lists are designed to be flexible, so you can customize them based on the data that matters most to your workflow.
Using List Settings, you can quickly:
Add or remove fields (columns) Adjust field visibility Prevent duplicate fields Drag and drop fields into the order you want
This guide will show you how to customize your list settings in just a few steps.
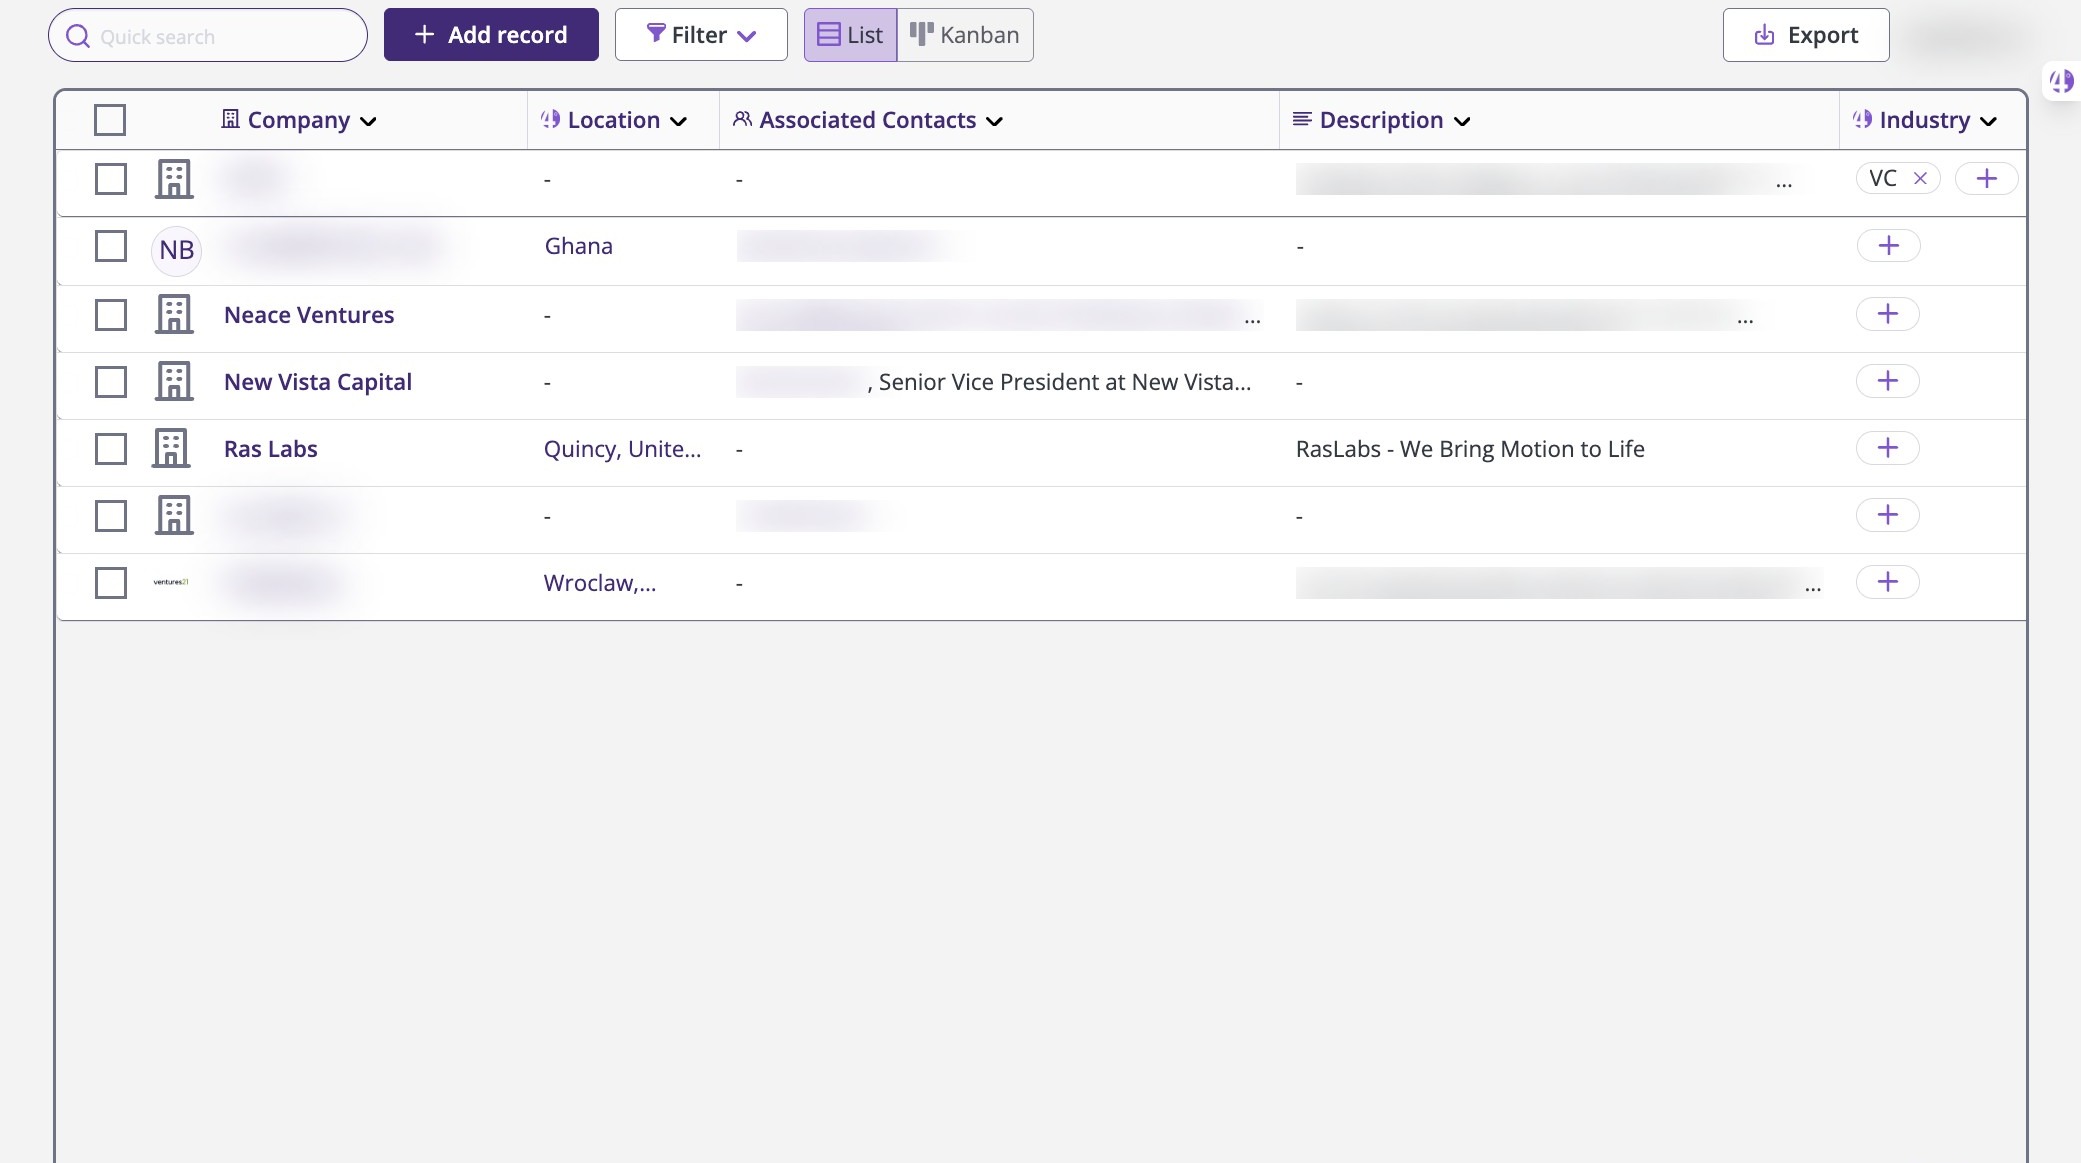
1. Navigate to Your Deal List
Start by opening your deal list in 4Degrees:
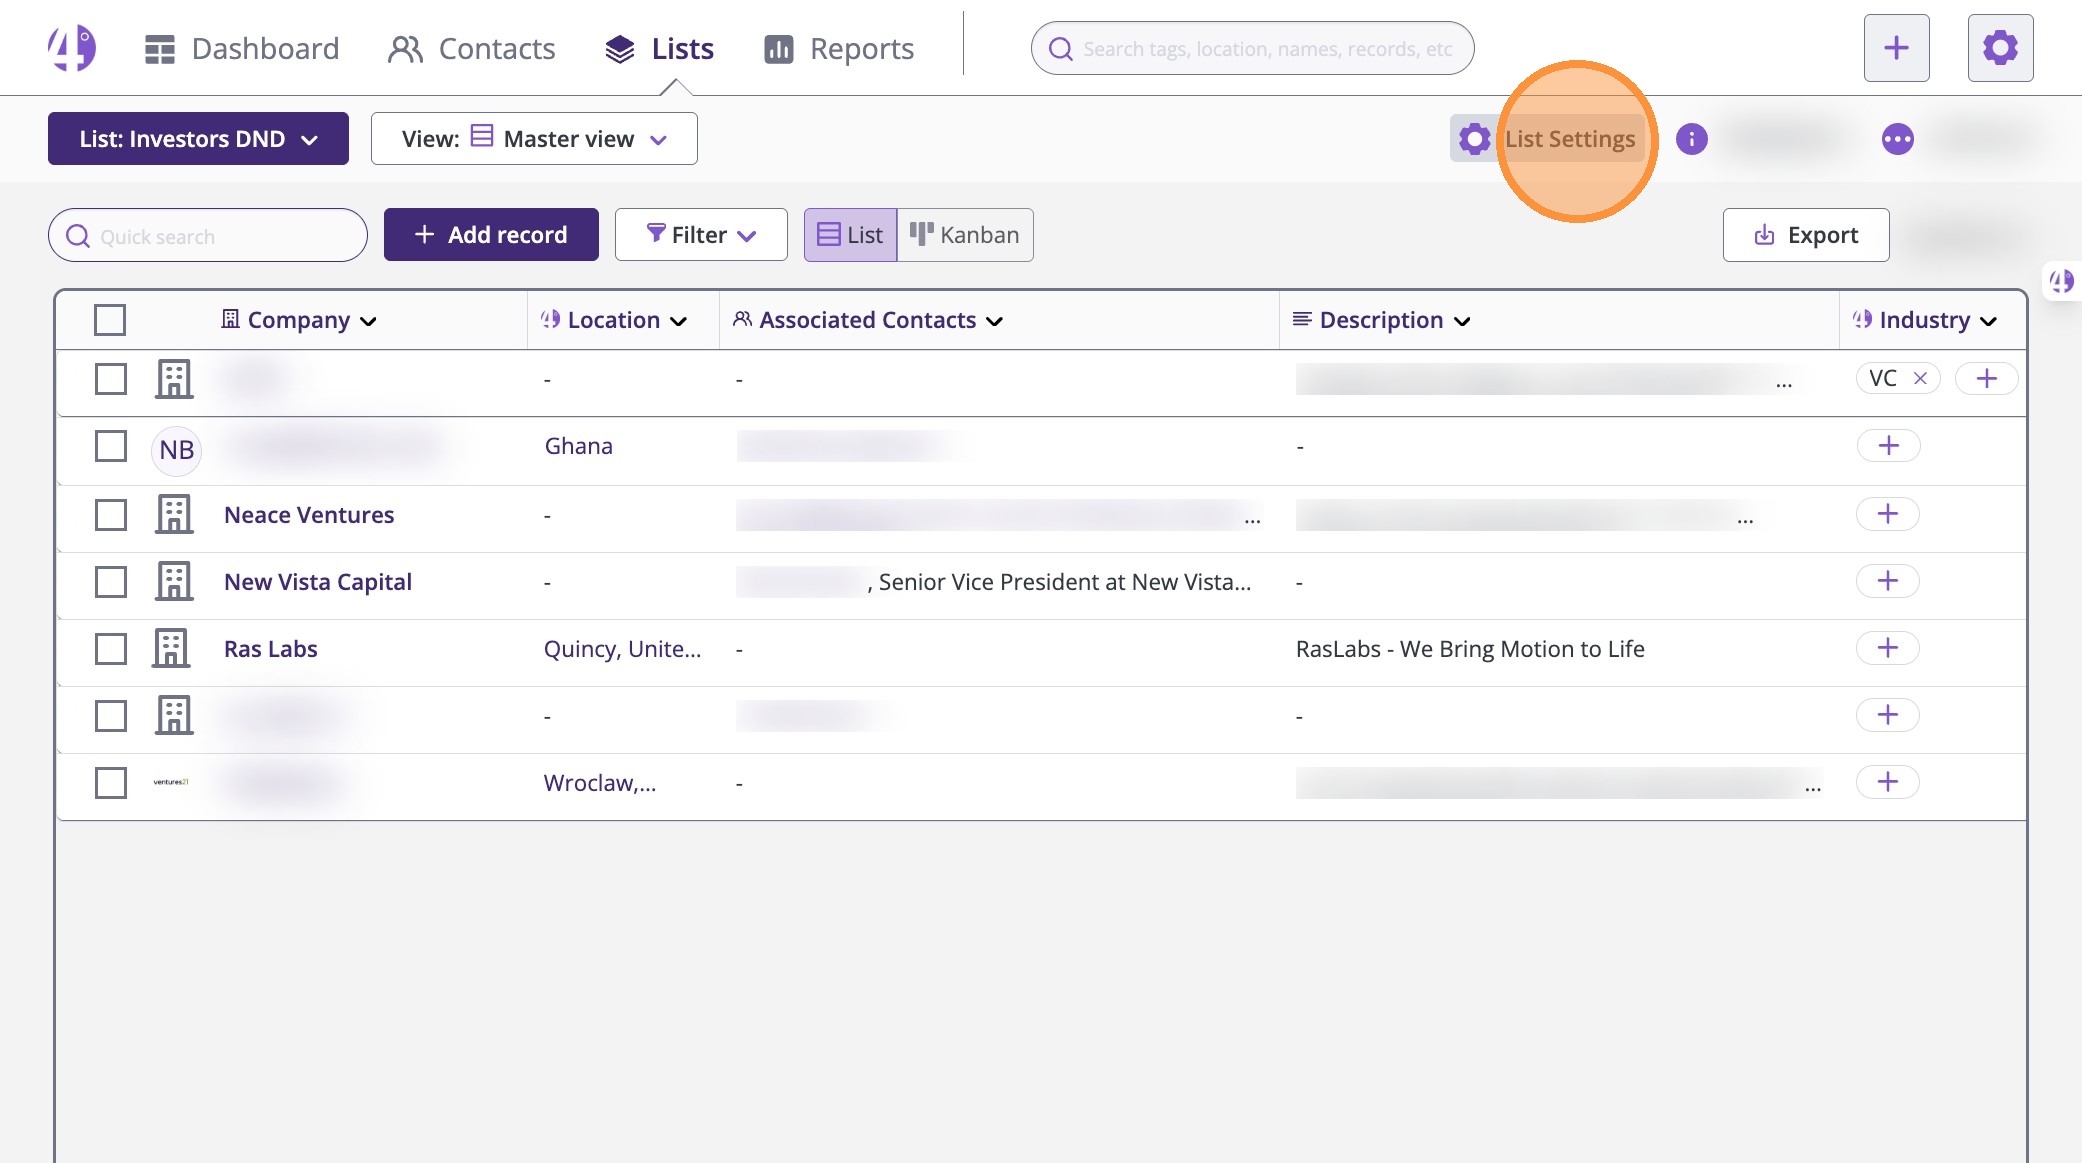
2. Open List Settings
At the top right of your list, click List Settings.
This will open the list customization panel where you can edit your fields.
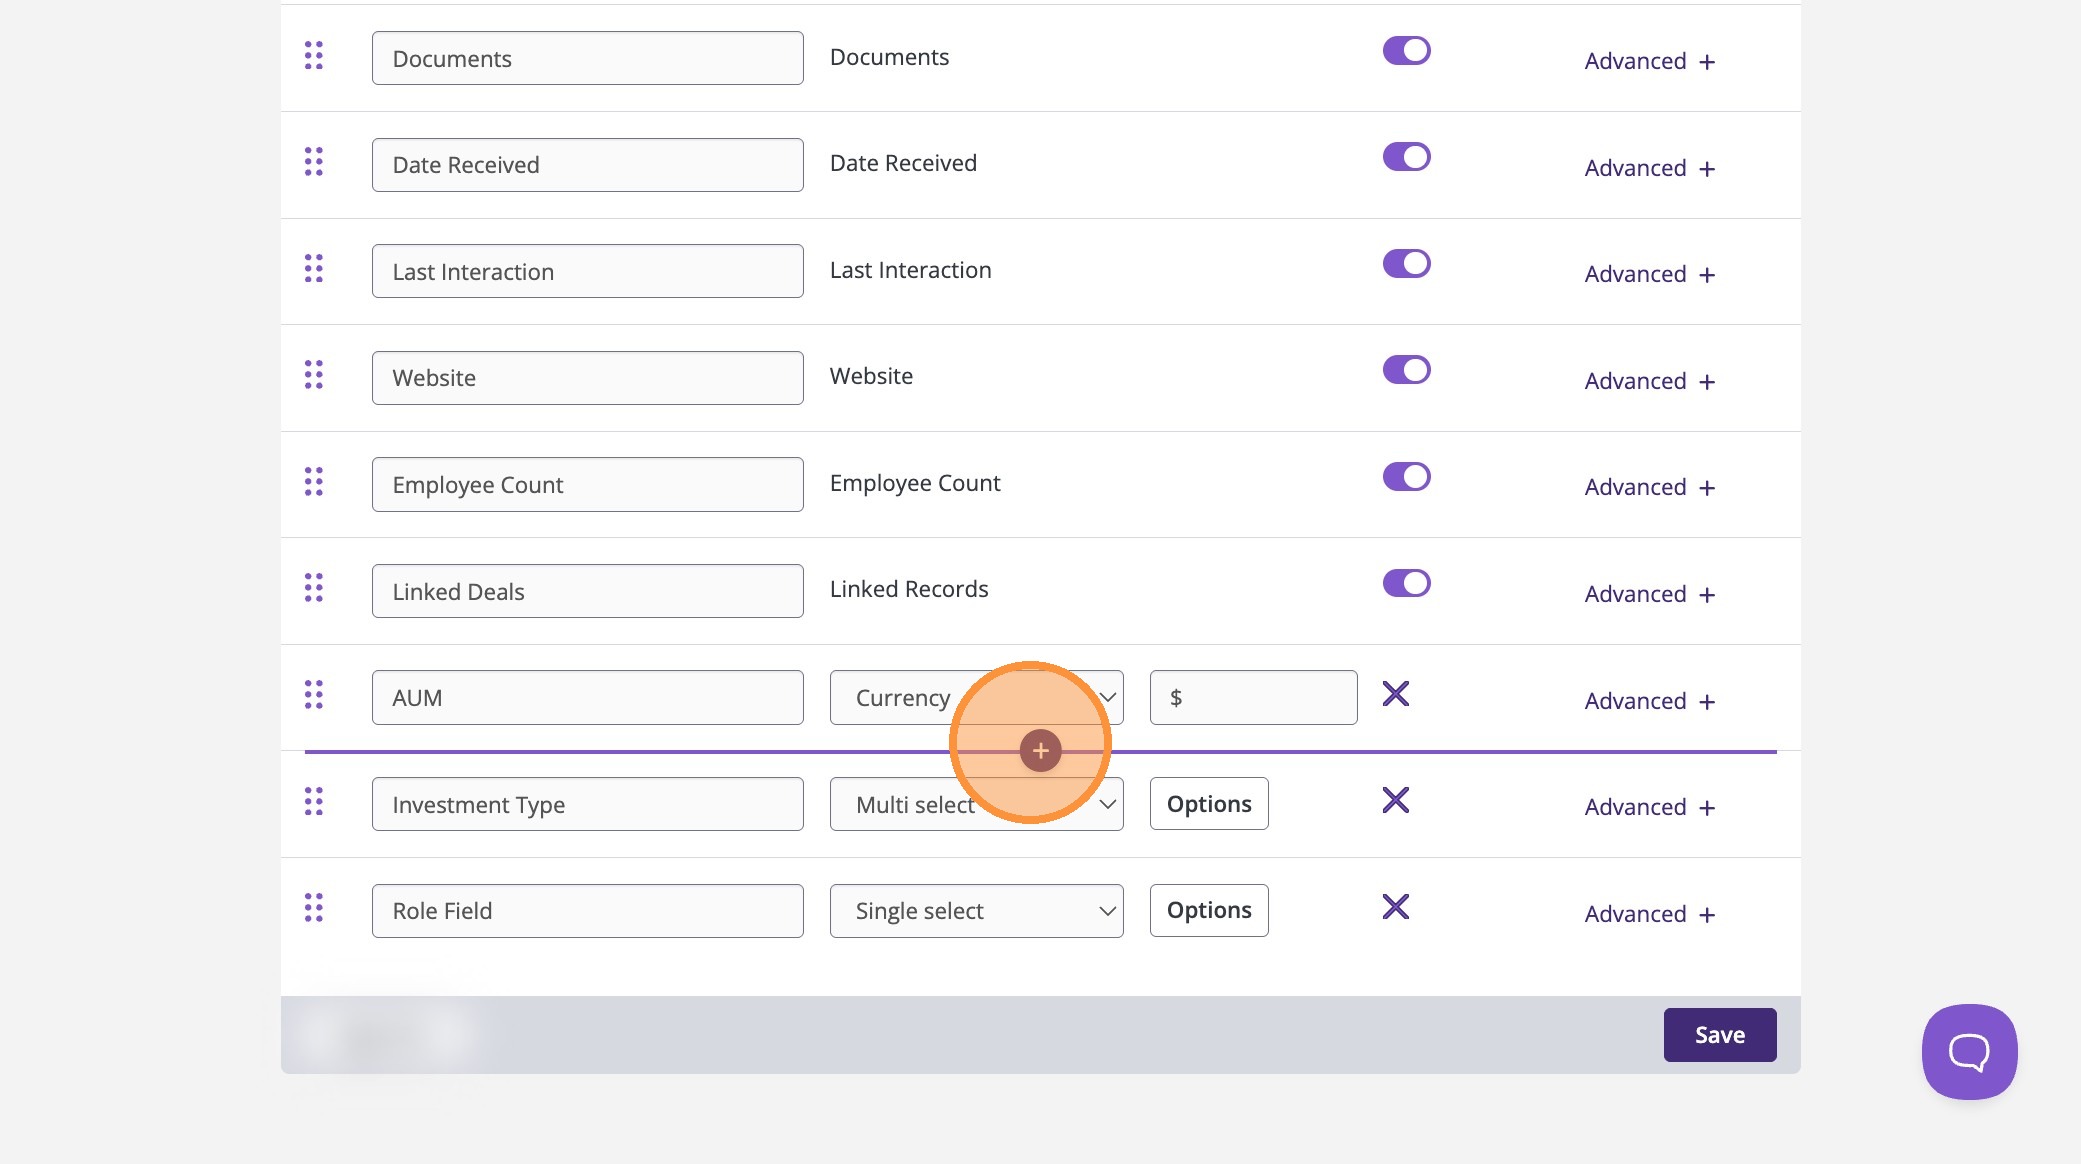
3. You can now add a field without having to scroll to the bottom of the page
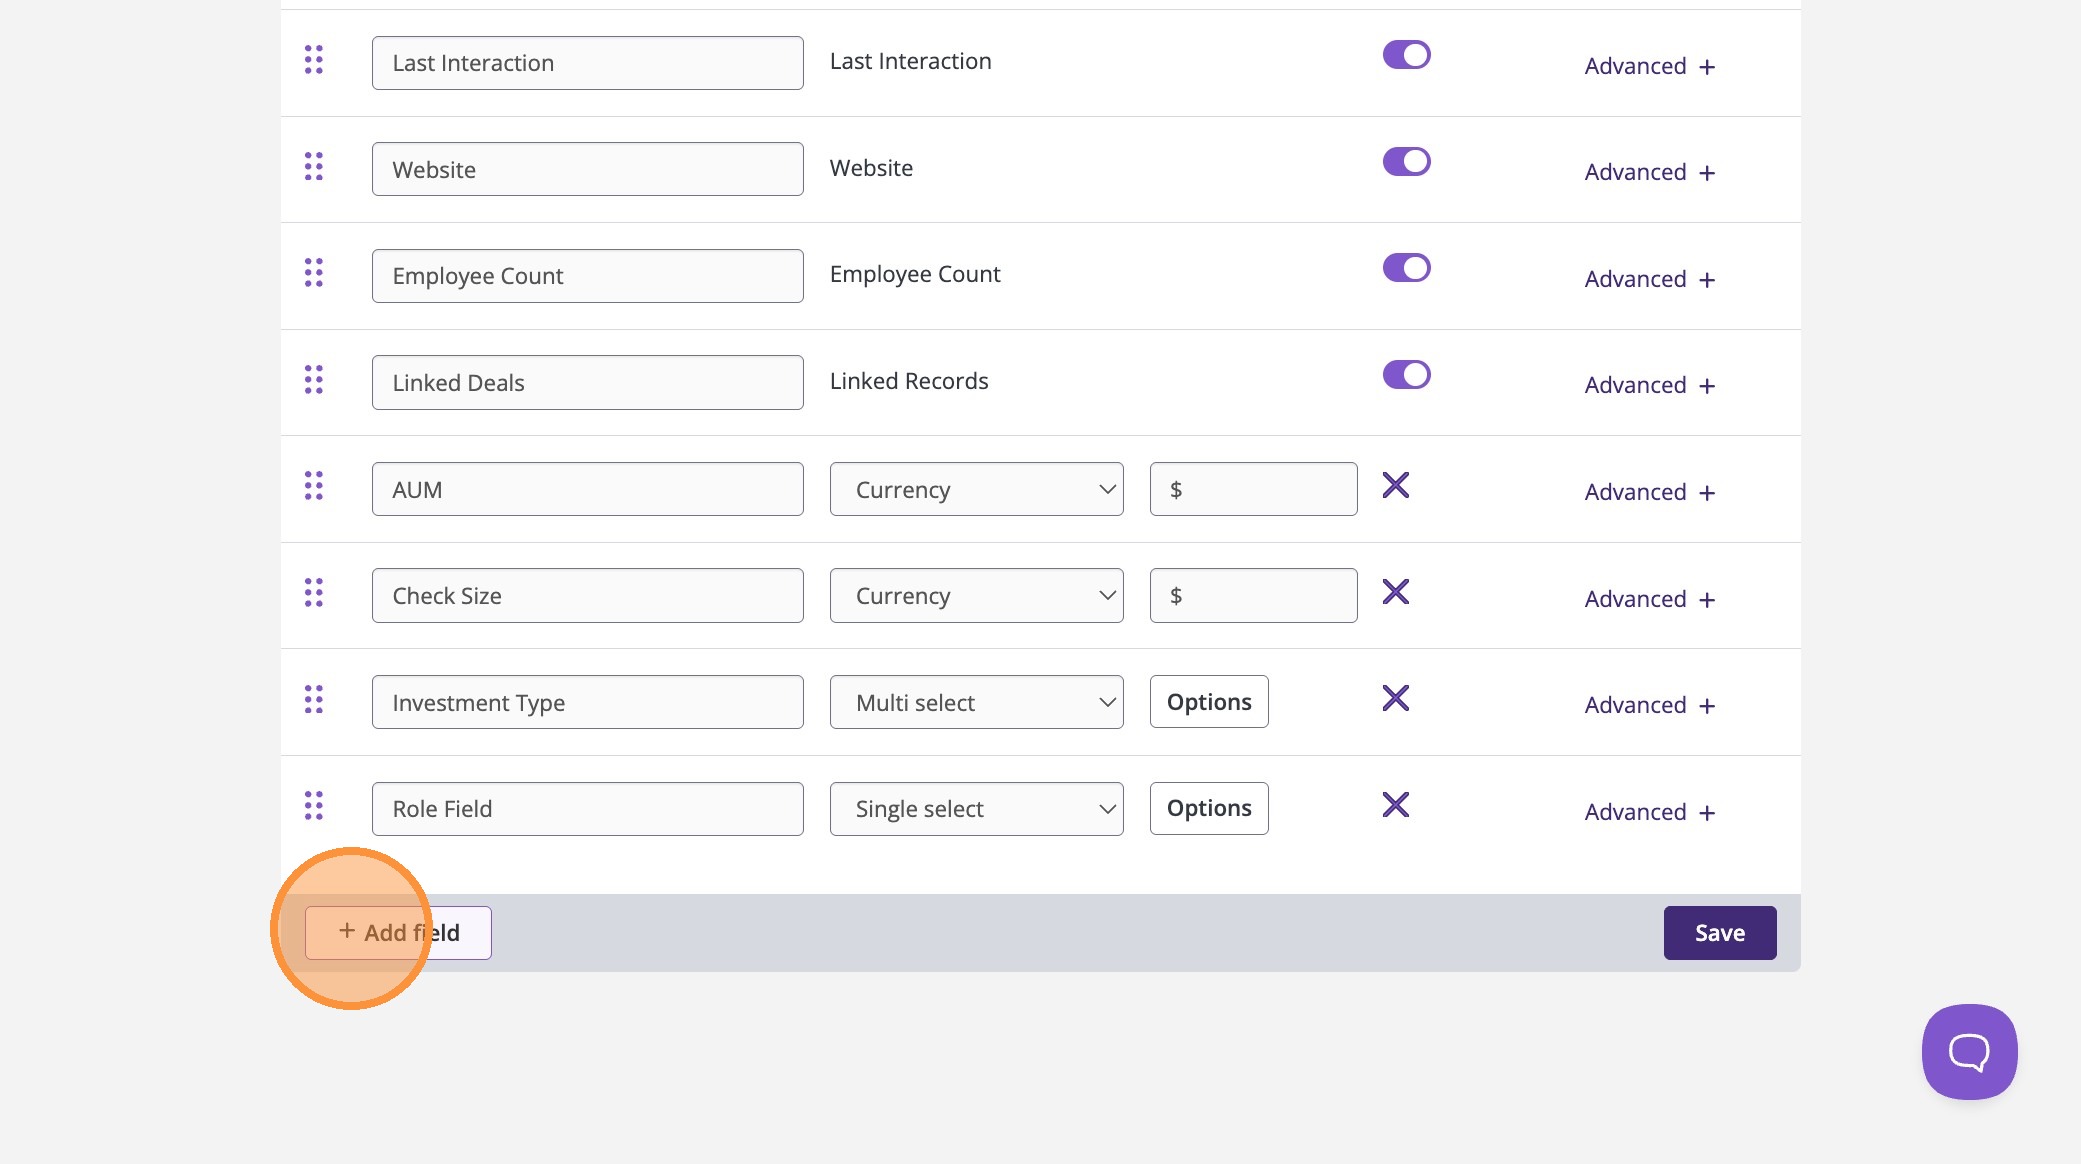
4. Add a New Field
Once you are in List Settings, you can add new fields without needing to scroll through your entire list view.
To add a new field:
-
Click the purple “+” icon
-
Select the field you want to add
This allows you to quickly expand your list with the information you need.
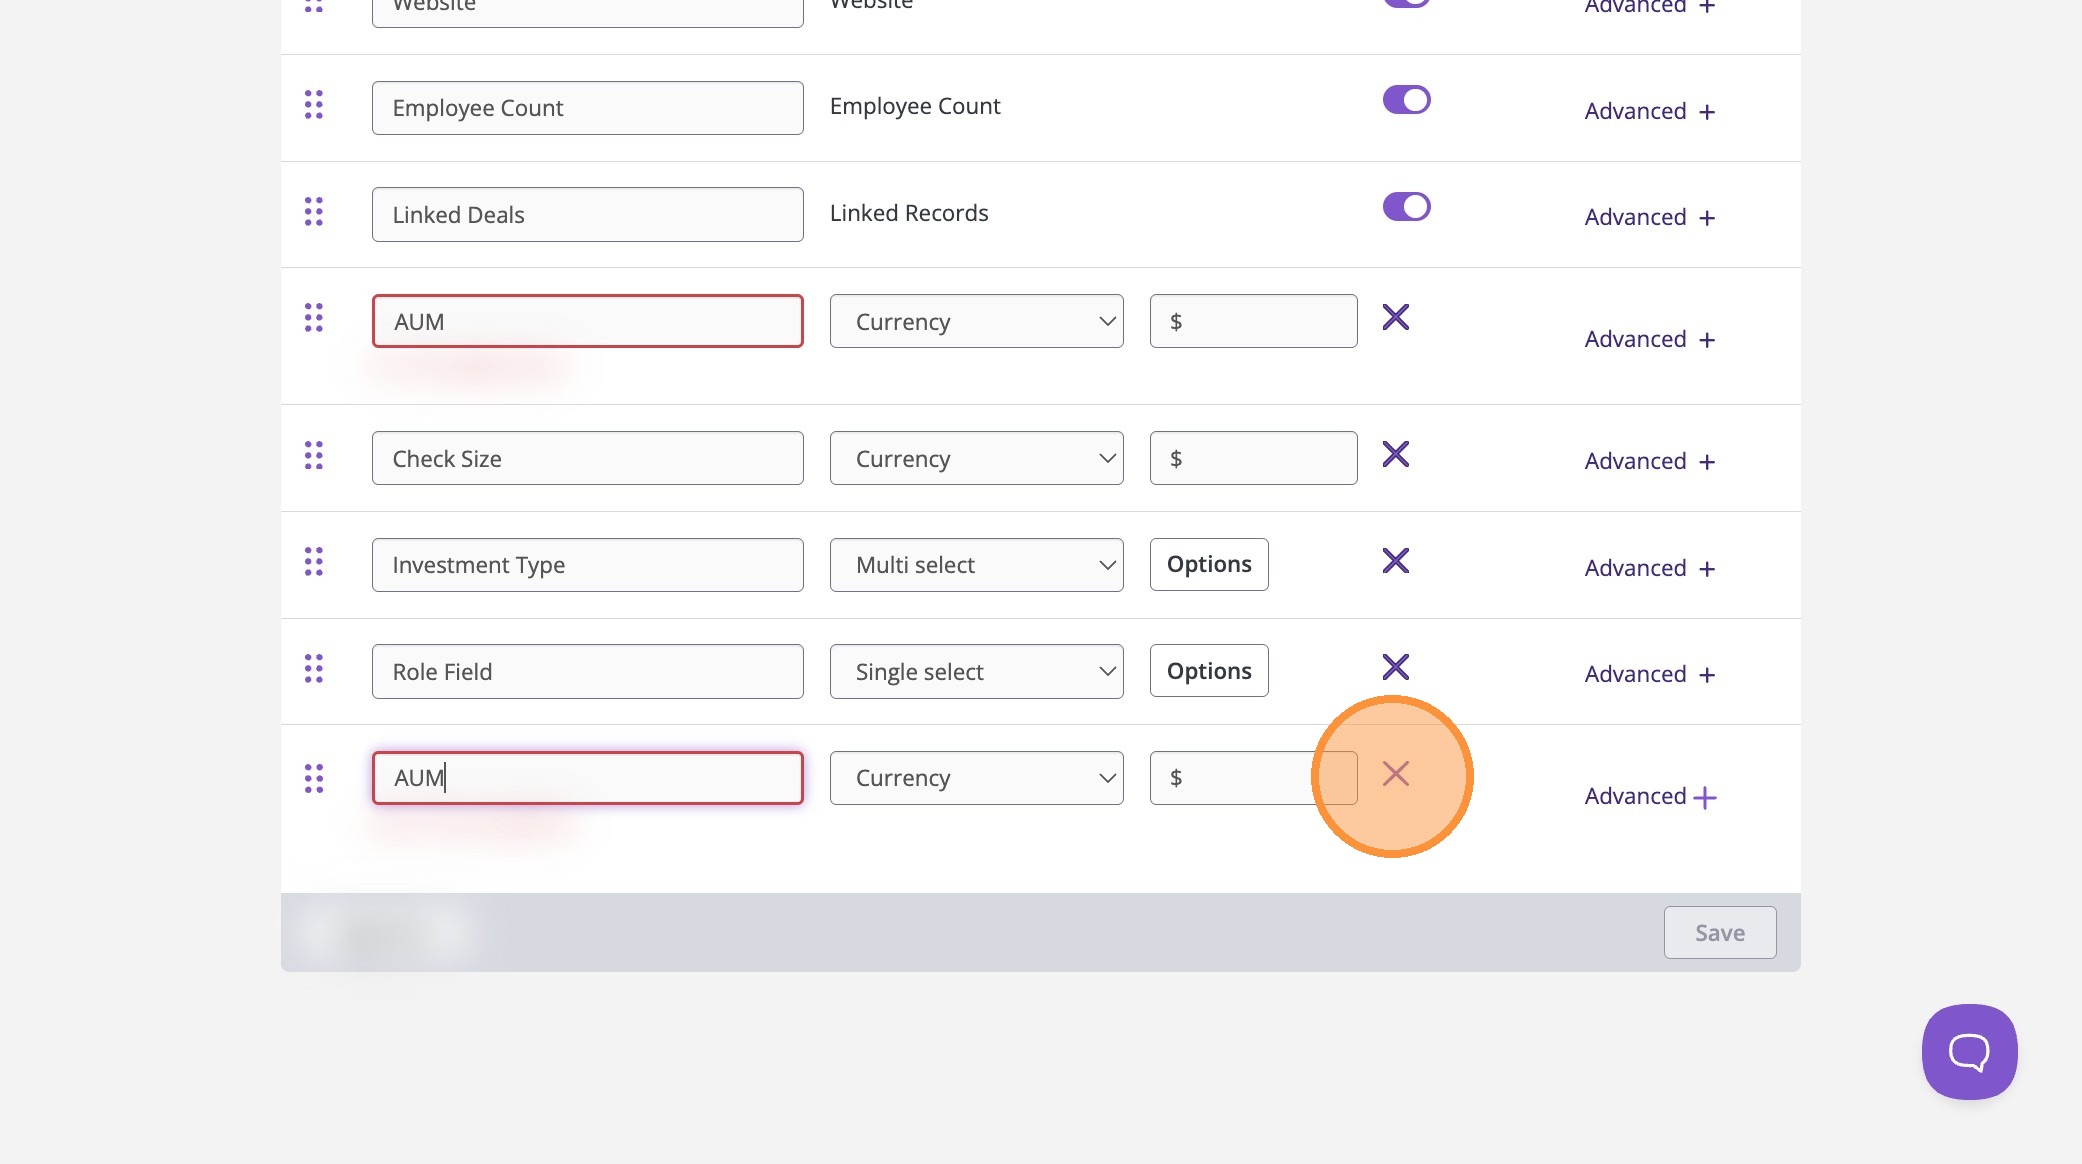
5. Avoid Duplicate Fields Automatically
4Degrees has a smart list feature that detects duplicate fields.
If you try to add a field that already exists, 4Degrees will automatically flag it to prevent duplication.
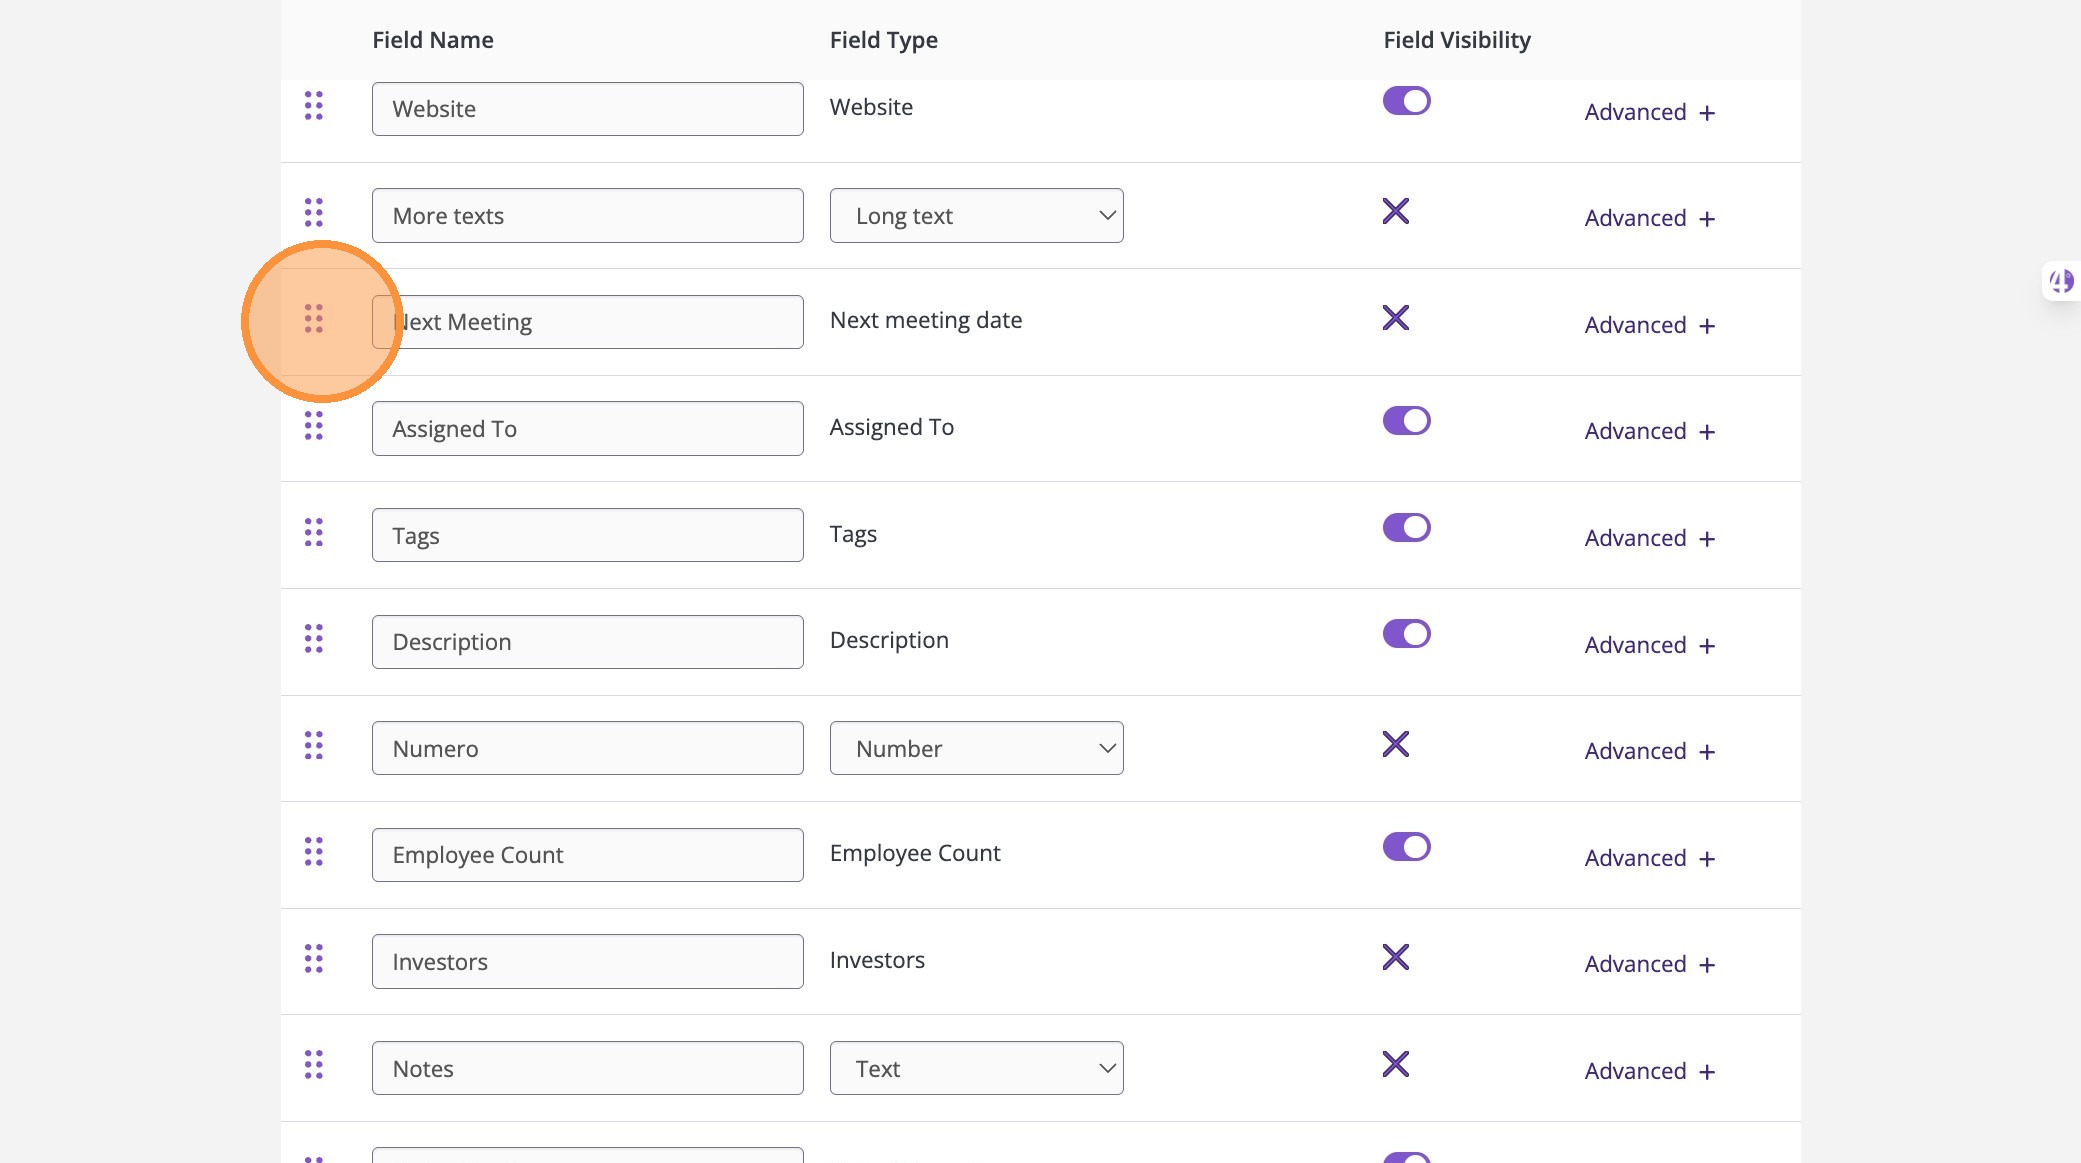
6. Reorder Fields Using Drag and Drop
If you want to rearrange your list layout:
- Click and hold the drag icon (six-dot handle) next to a field
- Drag and drop the field into your preferred position
This is helpful for organizing your list so your most important fields appear first.
7. Save Your Changes
Once you are finished customizing your list:
- Click Save in the bottom right corner.
Your list will immediately update with the new layout
